I still remember my first professional manicure (I was too ticklish for a pedicure). There was bright pink polish, silver streaks brushed on selected nails, and the possibility of a panda sticker (which ultimately felt too uncharacteristic). As I grew older, trips like these became few and far between as I balanced schoolwork with extracurricular activities. In the working world, it is even more difficult to find time to tend to your nails and splurge on a mani-pedi. However, that doesn’t mean you can’t treat yourself now and then from the comfort of your home.
Of course, nail upkeep shouldn’t be a priority on days when brushing your teeth already feels like too much. But when you have some downtime or need something to keep your hands busy while you watch Netflix, giving yourself an at-home manicure is such a treat.
Focus on the basics
Professional manicurists have an array of tools at their disposal to revamp your nails. Sure, you can splurge on a Target haul and purchase every product, but ultimately all you need is a good pair of nail clippers and a filer. If you want to get fancy, you can also purchase a nail buff and shine block to smooth and brighten nails, or this tool to push back your cuticles — but never cut your cuticles! If you spend enough time looking through your medicine cabinet, you will probably uncover a decade-old nail clipper and a dusty nail filer! If you find yourself coming up short, you can always purchase an affordable nail kit and buy all the necessities in one go.
Once you have acquired these essentials, you can start on your manicure! The first step is to remove any nail polish left on your nails and then clip and file your nail from side to side to form your desired nail shape.
Don’t forget the lotion!
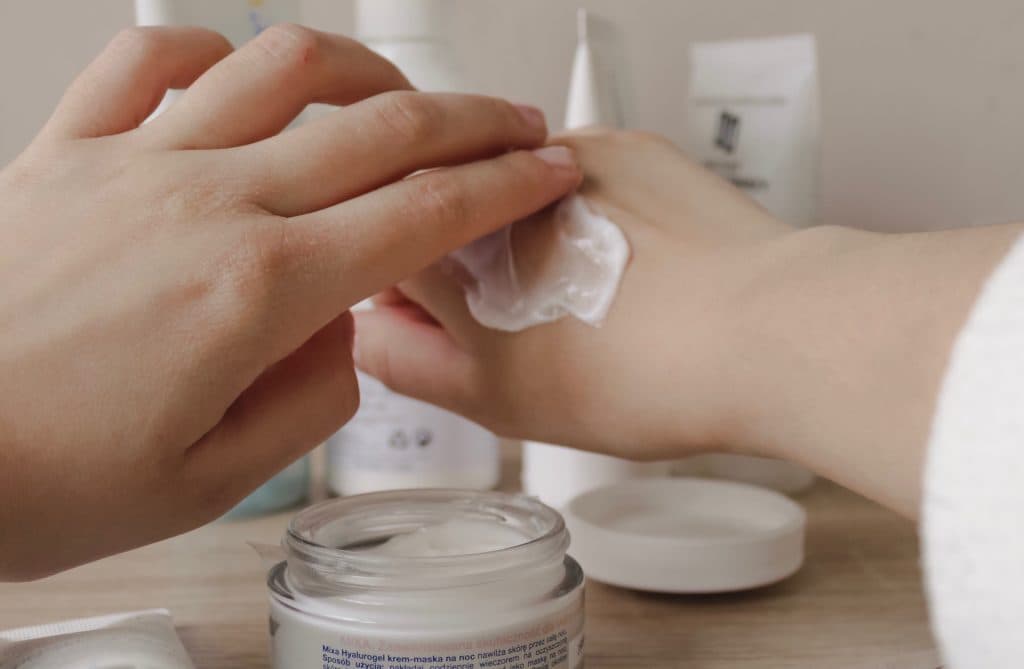
Depending on how much time you have at your disposal or how invested you are in replicating a professional manicure, I highly recommend giving yourself a personal massage of sorts by using your favorite scented lotion and rubbing it on your hands after you trim your nails. This step will lock in moisture and leave your hands feeling nourished before you paint them. If you are also taking the time to deal with your toenails, repeat the same process by giving yourself a foot rub. Honestly, nothing feels more luxurious than soft skin — even if you haven’t washed your hair in days and have been wearing the same pair of joggers all week.
Curate your own nail polish line
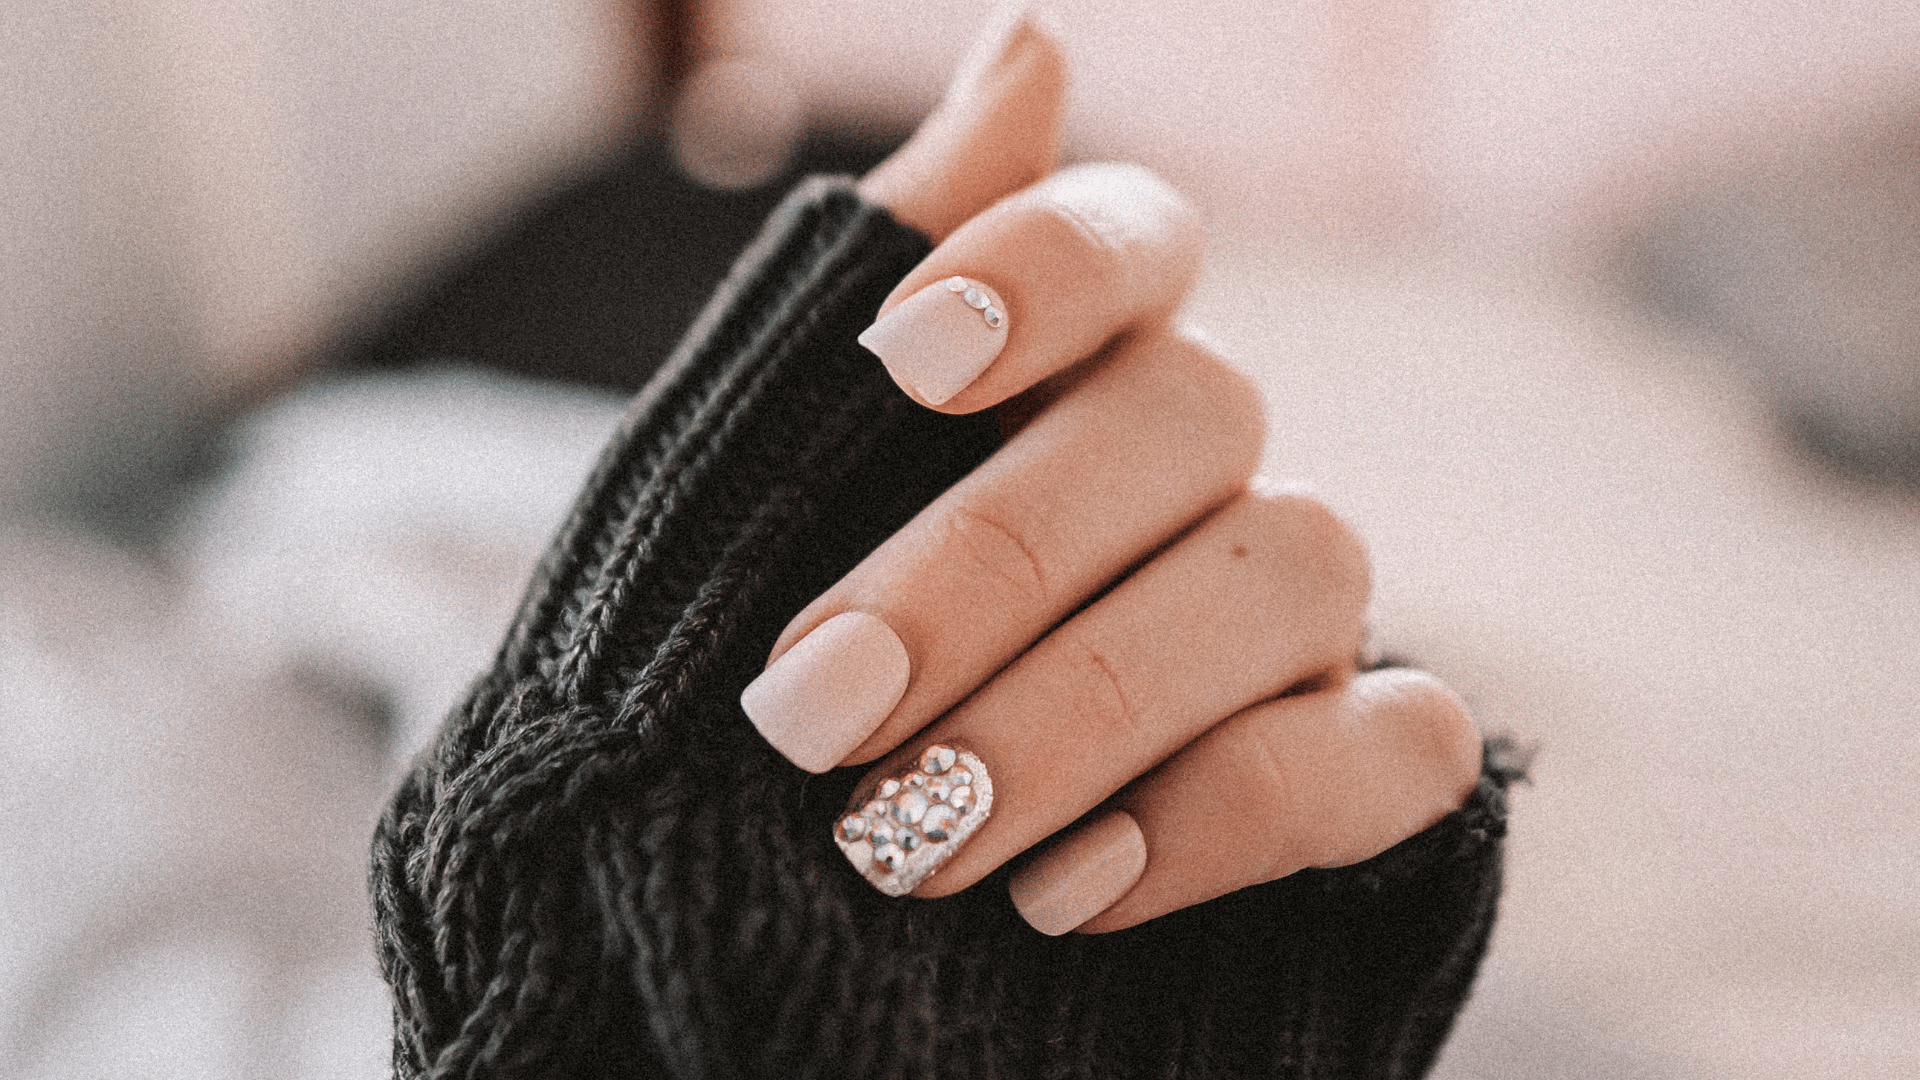
Personally, I have many regrets regarding some of the nail polish colors I purchased as a young child. To avoid my past mistakes, I recommend taking your time when selecting colors and only choosing those which you feel go with what you style, can be used in all four seasons, and you truly like. I know it’s just nail polish and you really shouldn’t have to think that hard about it, but one bottle lasts a long time (I'm still trying to get through a particular pink all the way back from middle school) and you want to make sure you will actually use the color.
Some brands are more expensive than others, and we all begin to have preferences as we try more types of nail polish. I grew up on O.P.I. — and by that I mean I stole my mom’s dark red so I remain a #1 fan, but more important than the brand is quality. As long as you feel the paint covers your nails in a manner you want and doesn’t leave them stained or yellow, you are golden.
Everyone’s color taste is different, so you may find yourself sticking to multiple hues of the same three colors. However, I recommend curating a variety in your collection. By this, I don’t mean you need every color of the rainbow, but rather some dark shades mixed with lighter colors and the essential black, light pink, midnight blue, and crimson red.
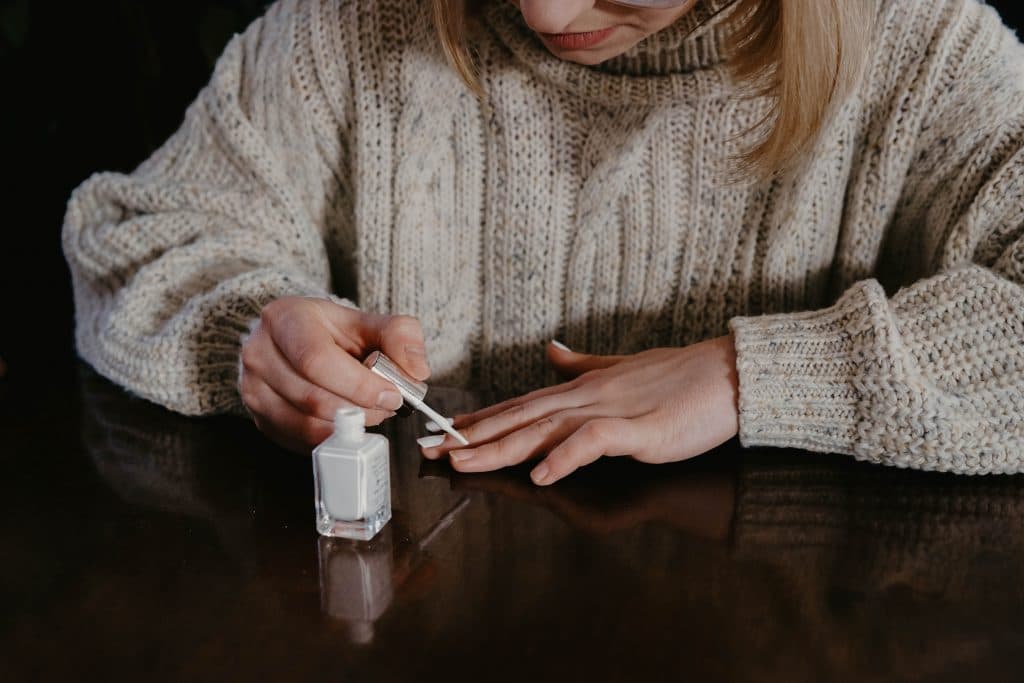
Slow and steady wins the race
When I first started giving myself at-home manicures, my nails would come away looking like I had dipped them in a bowl of purple liquid. My hand still shakes when I bring the brush to my fingernail, but as long as you take it slow with each stroke, you will decrease the amount of leftover polish on the rims of your nail beds. To help paint your non-dominant hand, you can sit at a table with your elbows and hands resting on the surface. Start in the middle of your nail, and then cover the surface up until the edges. I also recommend doing two coats to ensure full coverage and that the polish lasts more than three days.
While you may want to jump right up after painting, do not do a plank or cook a pasta dinner, try to limit movement with your hands for at least thirty minutes so you don’t smudge your nail polish. Think of this time as self-care and an excuse to watch your favorite show on Netflix.
Top coat or no coat
I am in the party that you should always use a topcoat (and a bottom coat depending on that day’s weather forecast) when painting your nails. Again, I know this is just an added stop in an already long and boring process that requires patience. But at the end of the day, you will be glad you went over your nails with clear nail polish so you don’t have to repeat this entire process earlier than wanted.
I am no manicurist and I certainly do not know all of the nail arts out there from gel to stick-on manicures, but if you want to pretend your bathroom is a spa for the evening, follow these five tips and your fingertips will thank you later.
Related Articles